Typically speaking, a buggy board is one of the easiest accessories to add on to your pram, buggy or stroller. But exactly how do you attach a buggy board to your pram?
Most have additional straps or connectors that simply clip on behind the lower chassis of your pram. Others may need you to attach the wheels. Don’t be put off by having to get out your screwdriver! As soon as your buggy board is set-up and ready to go, your days out with the pram are going to get a whole lot easier.
So, how do you attach a buggy board to your pram? Here’s what we found out:
Step 1 – Start by finding a buggy board that fits!
Purchasing a buggy board that is going to attach to your pram, buggy or stroller is the place to start. So, do your research before you commit to buying one. The Lascal, as well as many of its counterparts, are designed to universally attach to pretty much any set-up on the market.
Step 2 – Layout all the parts
When you are putting a buggy board together, you need to be able to see what you are doing. By laying out all the parts in front of you, with your instructions on view, you will have your buggy board set up in no time.
You may not need any tools, but if you do, make sure you have the one’s suggested on your manual. There’s no point using something that isn’t necessary. Avoiding stress is good after all!
Step 3 – Attach the arms
Line up the arms to the connector and turn as directed in your manual – usually in a clockwise direction.
Step 4 – Click the wheels
Turning your board over, the wheels should click easily into place. Make sure they are secure before flipping the buggy board back over. From this moment on, the wheels are permanently attached.
Step 5 – Connectors
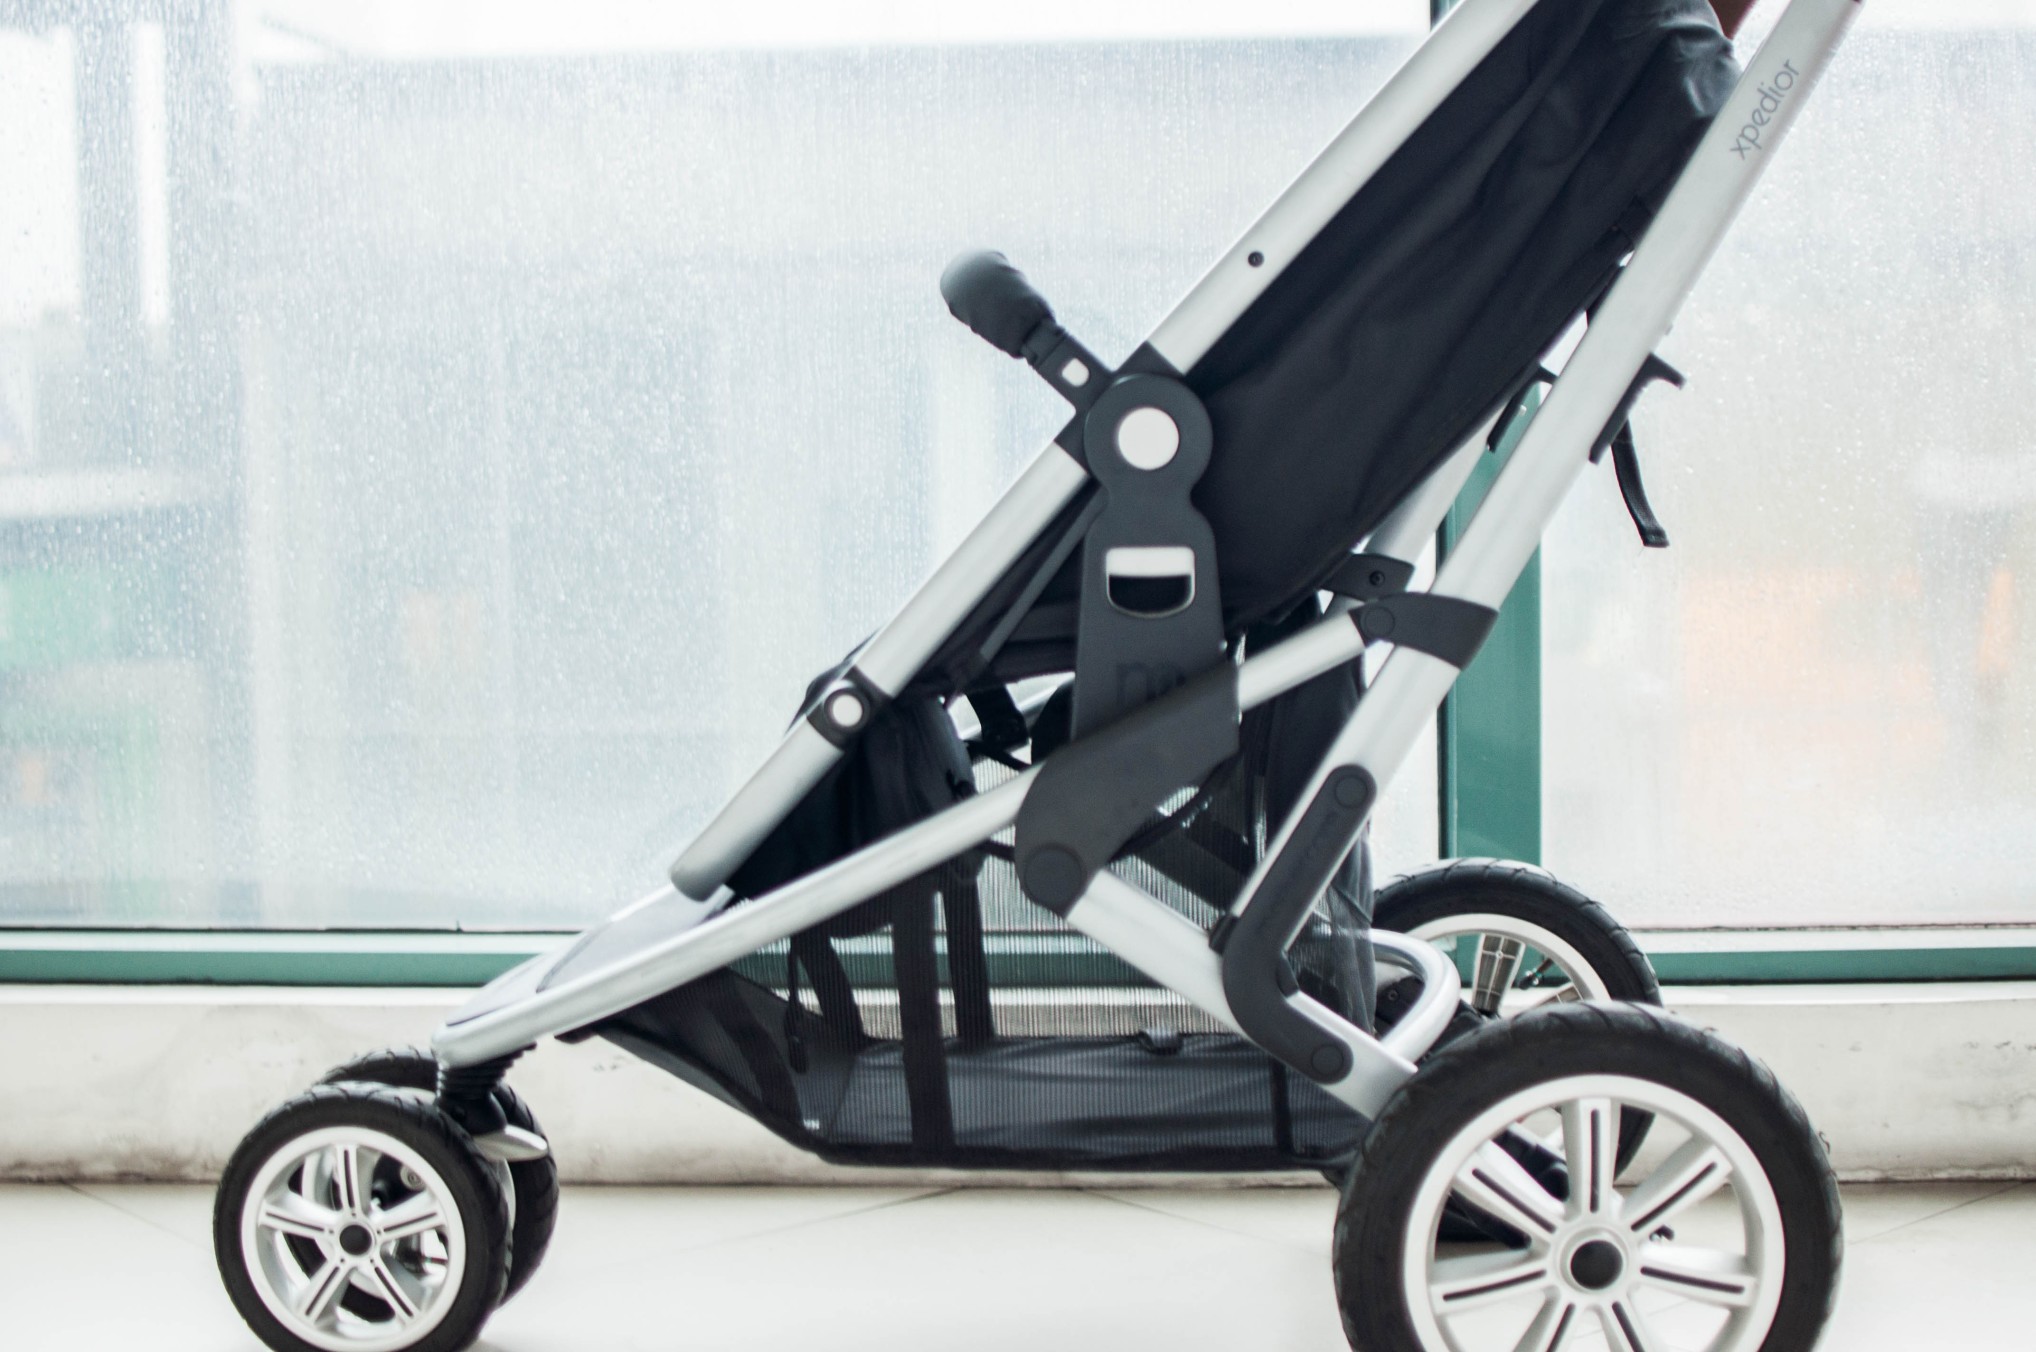
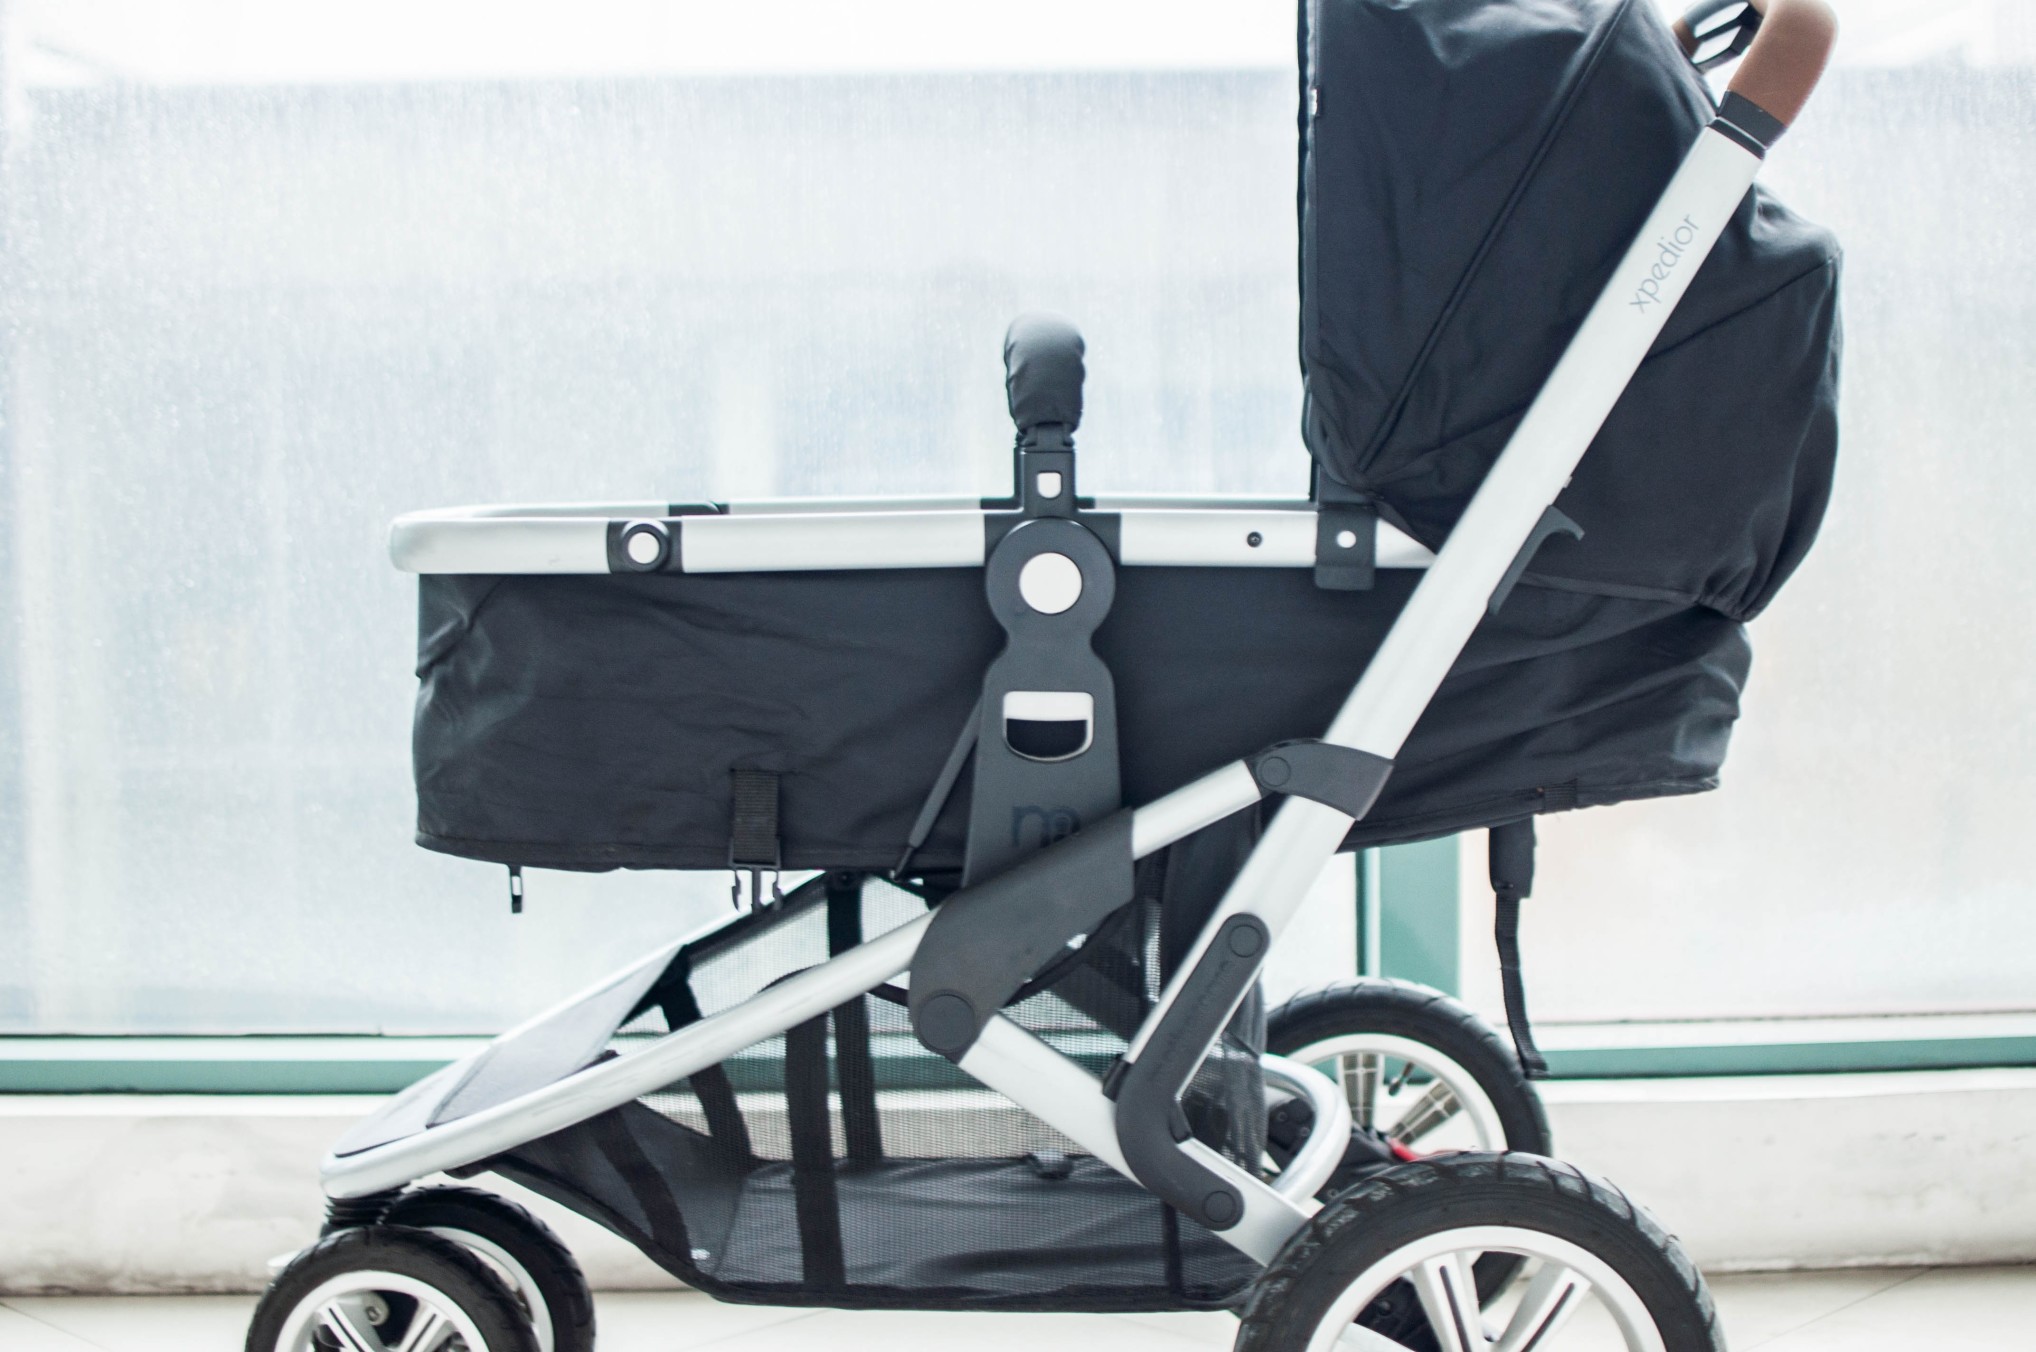
Position your connectors to the pram, buggy or stroller’s main chassis you would like your buggy board to be attached to.
Measure the distance from the floor to the tallest part of the chassis – it should be no more than 35 cm/14 inches. Make sure you avoid the brakes, any moving parts and the wheels when placing the connectors onto the chassis.
Decide whether your connectors are going on the front or back of the chassis – this will be dependent on the length of your buggy boards arms. Once you are happy, add the friction tape provided with your buggy board to the places your connectors will go.
Place the strap over the friction tape and tighten gently until secure. The cotter pin should be horizontal when tight enough.
Step 6 – Positioning your buggy board
You will notice that your buggy board houses 3 – 4 different holes in the attaching arms. Make sure you allow for enough headroom under the handlebars.
Once you are happy with the height, thread the cotter pins through the selected holes. These will match up with the connectors – you should hear an audible click when attached fully.
Make sure your buggy board is level and central before tightening the outer cotter pins.
Step 7 – Attach the hook and strap
Now that your buggy board is set up and ready to go out for a spin, all you need to do is thread the strap that hooks your buggy board up when not in use.
Place the strap around the handle, while threading the other end through and pull tight. Once through, the loose end of the strap will loop through the central hook on your buggy board.
Step 8 – Final checks
Finally, make sure your brakes, wheels and moving parts are free from touching the buggy board while hooked up,
Unhitch your buggy board to make sure your pram, buggy or stroller still folds with ease.
Click your buggy board into place and away you go!
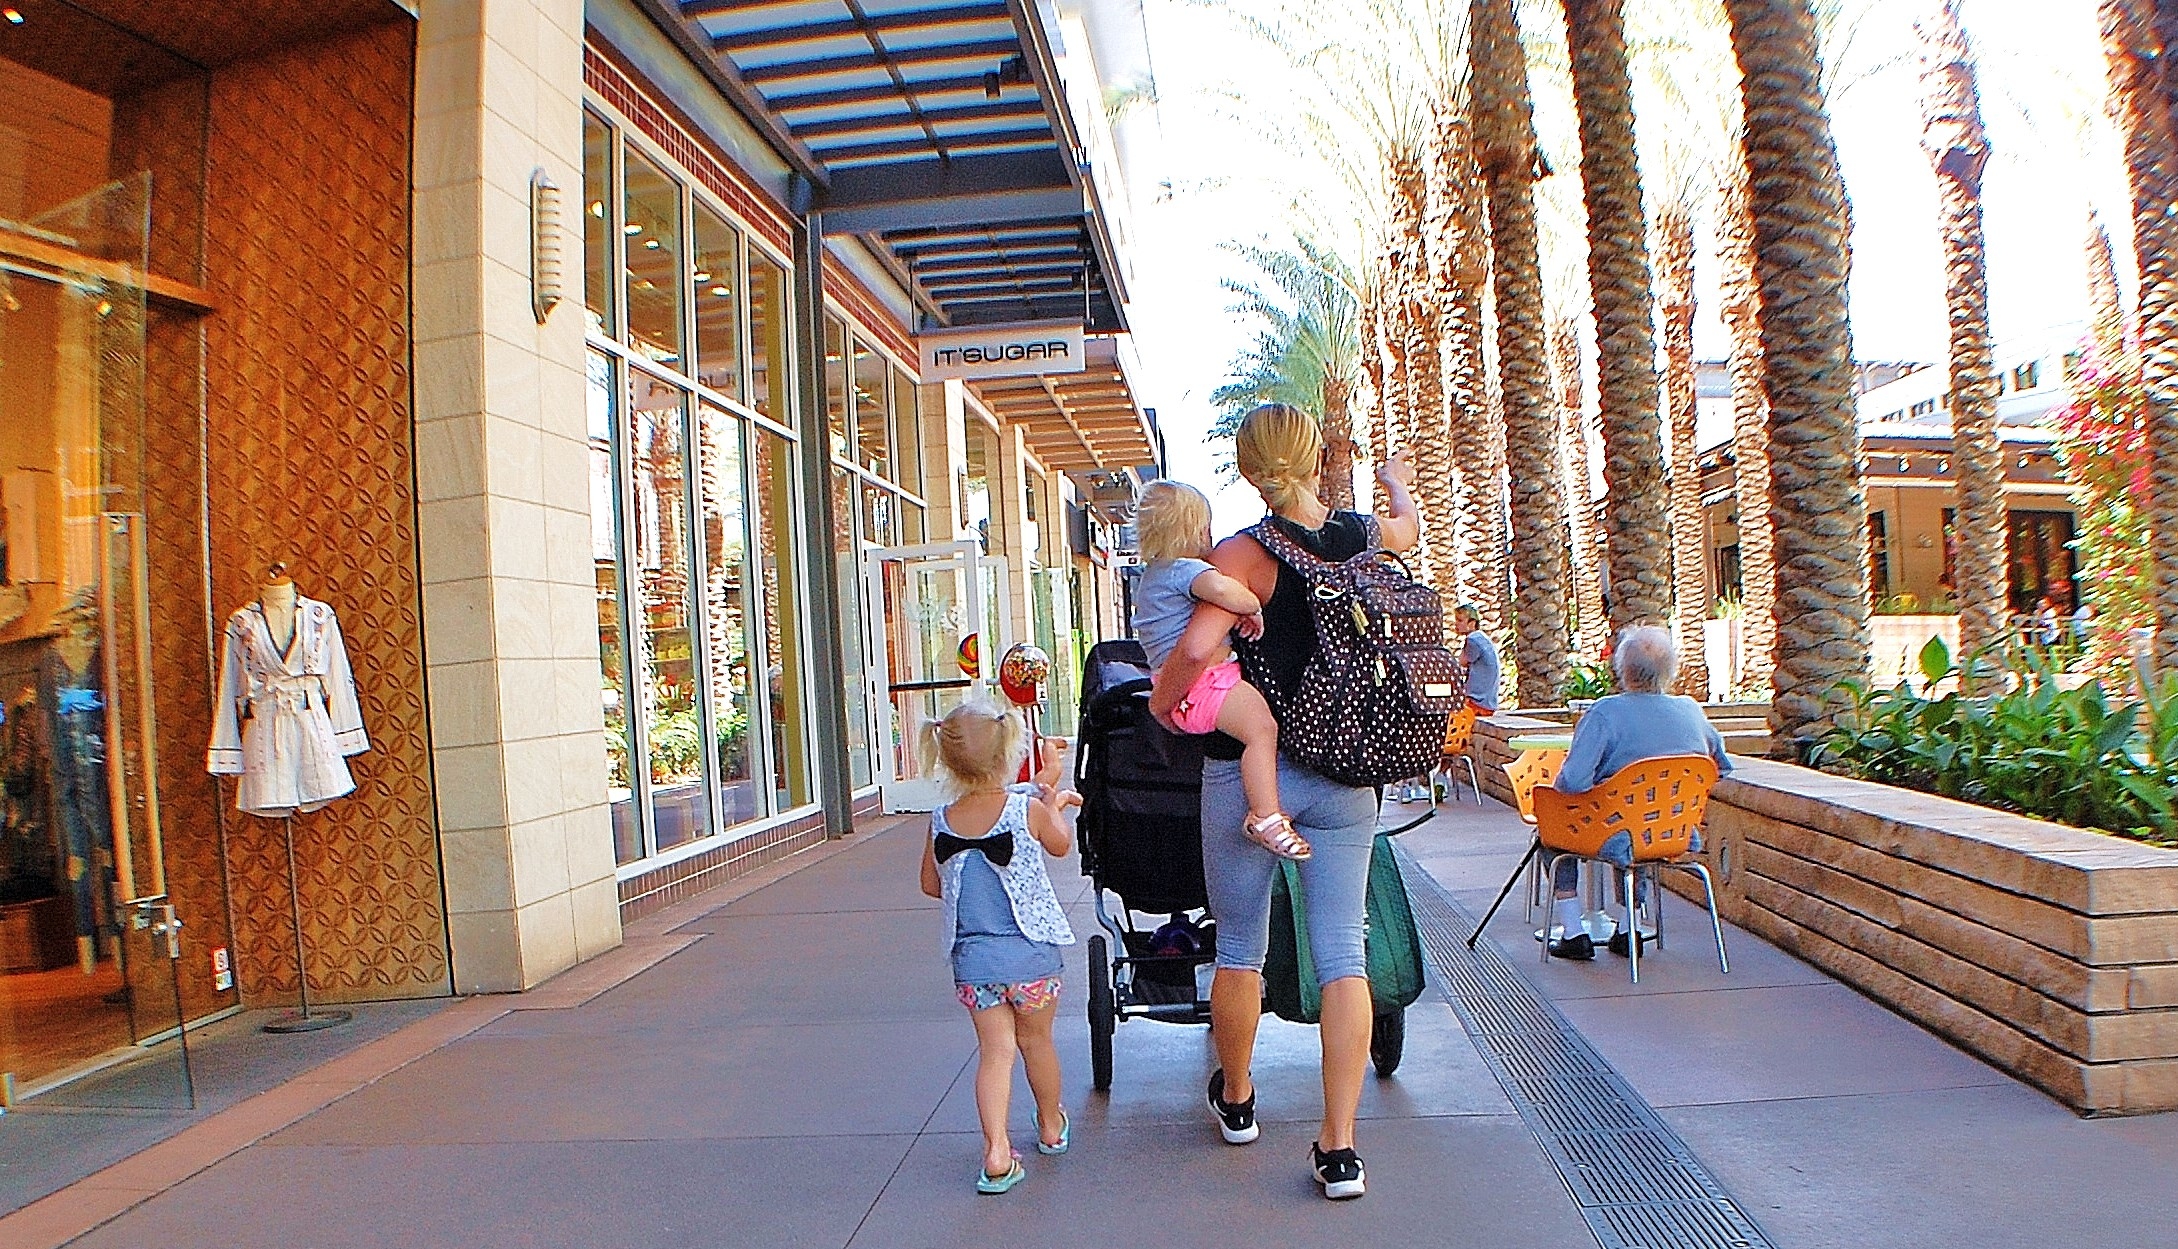
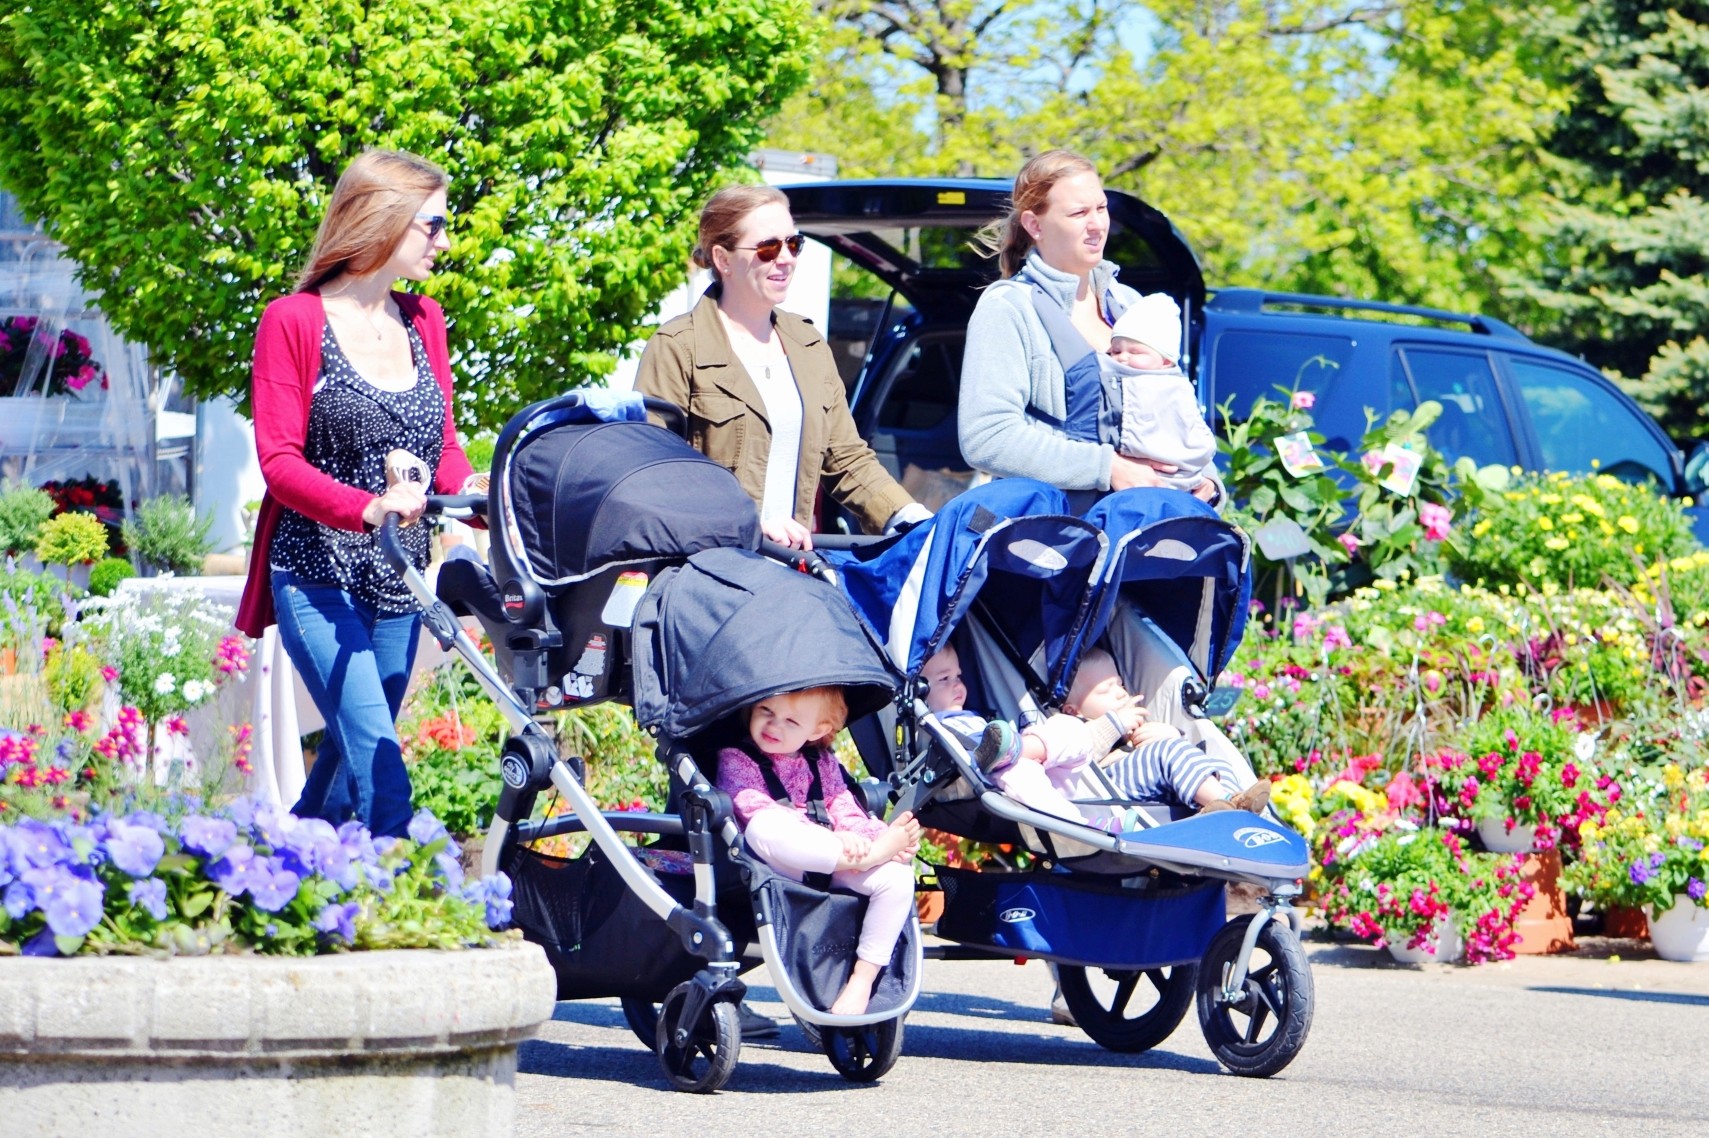
Ready to take your buggy board for a spin? Go and explore the world through your child’s eyes and get out on the road. Or the pavement!