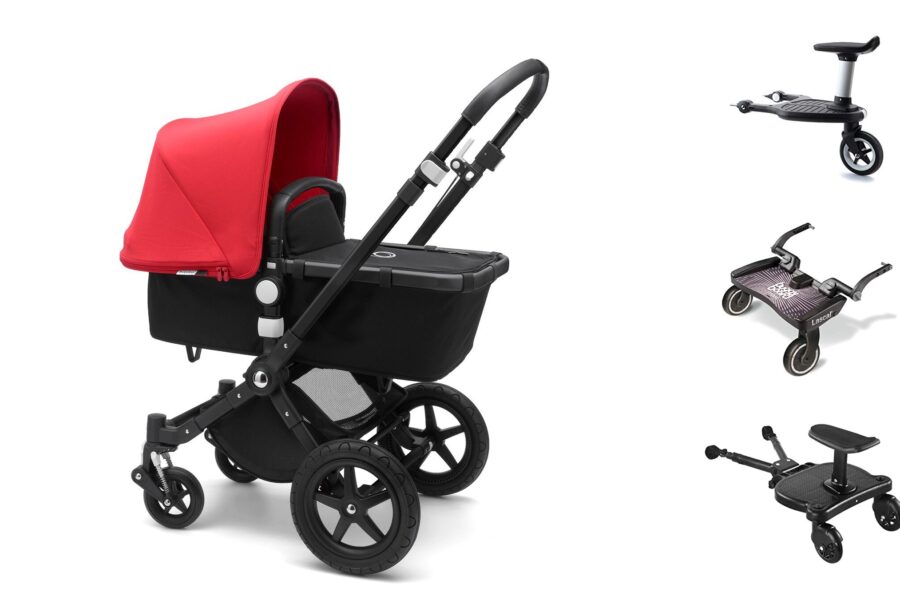
Conceptually, the mini and the maxi buggy board are the same – the difference is their size.
Designed for smaller, lightweight pushchairs and strollers, the mini buggy board is small for a reason! Unlike it’s heavier and more sturdy counterpart the maxi buggy board, the mini is an innovative accessory to make shorter trips less stressful.
Compact and easy to use the mini buggy board has the same anti-slip technology you would expect on any buggy board.
So, how do you attach a mini buggy board?
Find the right mini buggy board for you
Start as you mean to go on. Finding the right mini buggy board to suit your pushchair is essential. Looking at the maximum weights a mini buggy board can take, as well as if your pram, stroller or buggy is suitable is crucial before you commit to a purchase.
Fortunately, most reputable mini buggy boards are so well-loved due to their universal compatibility with most brands.
Let your manual guide you
Although a mini buggy board is super easy to put together and attach, make sure you follow the instructions provided by the manufacturer. Laying all your parts, tools and having your pram nearby is going to make the building process so much easier!
Where to start?
Now that you are ready to assemble and attach your mini buggy board, let’s begin:
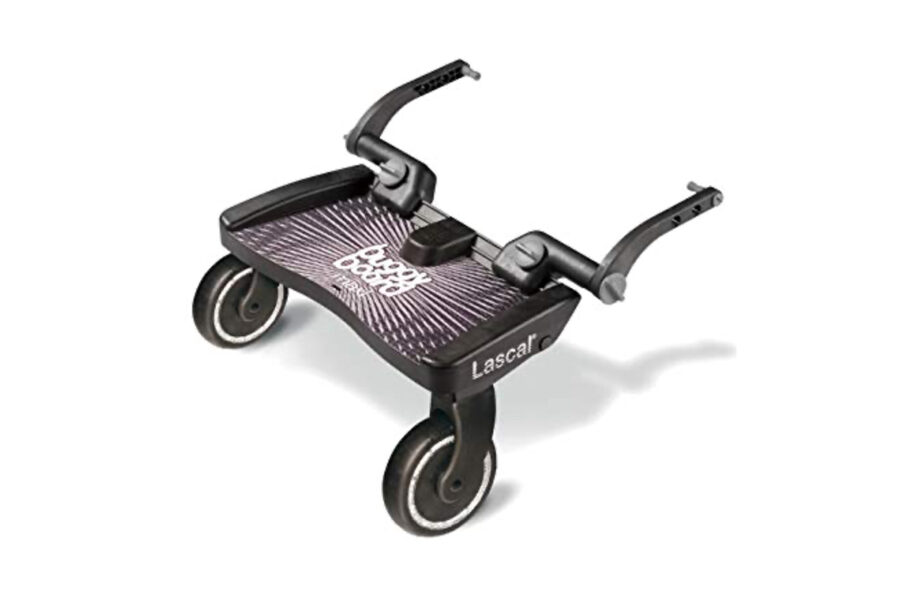
The arms
Typically, a mini buggy board will have two connecting arms. The first part of them should easily fit into the sides at the front of the mini buggy board, and turn until secure.
The wheels
Flip your mini buggy board onto its front, so you can find where the wheels go. You will find two wheel holes for you to “click” each wheel into. Make sure both wheels are firmly attached before moving on to the next stage.
Connectors
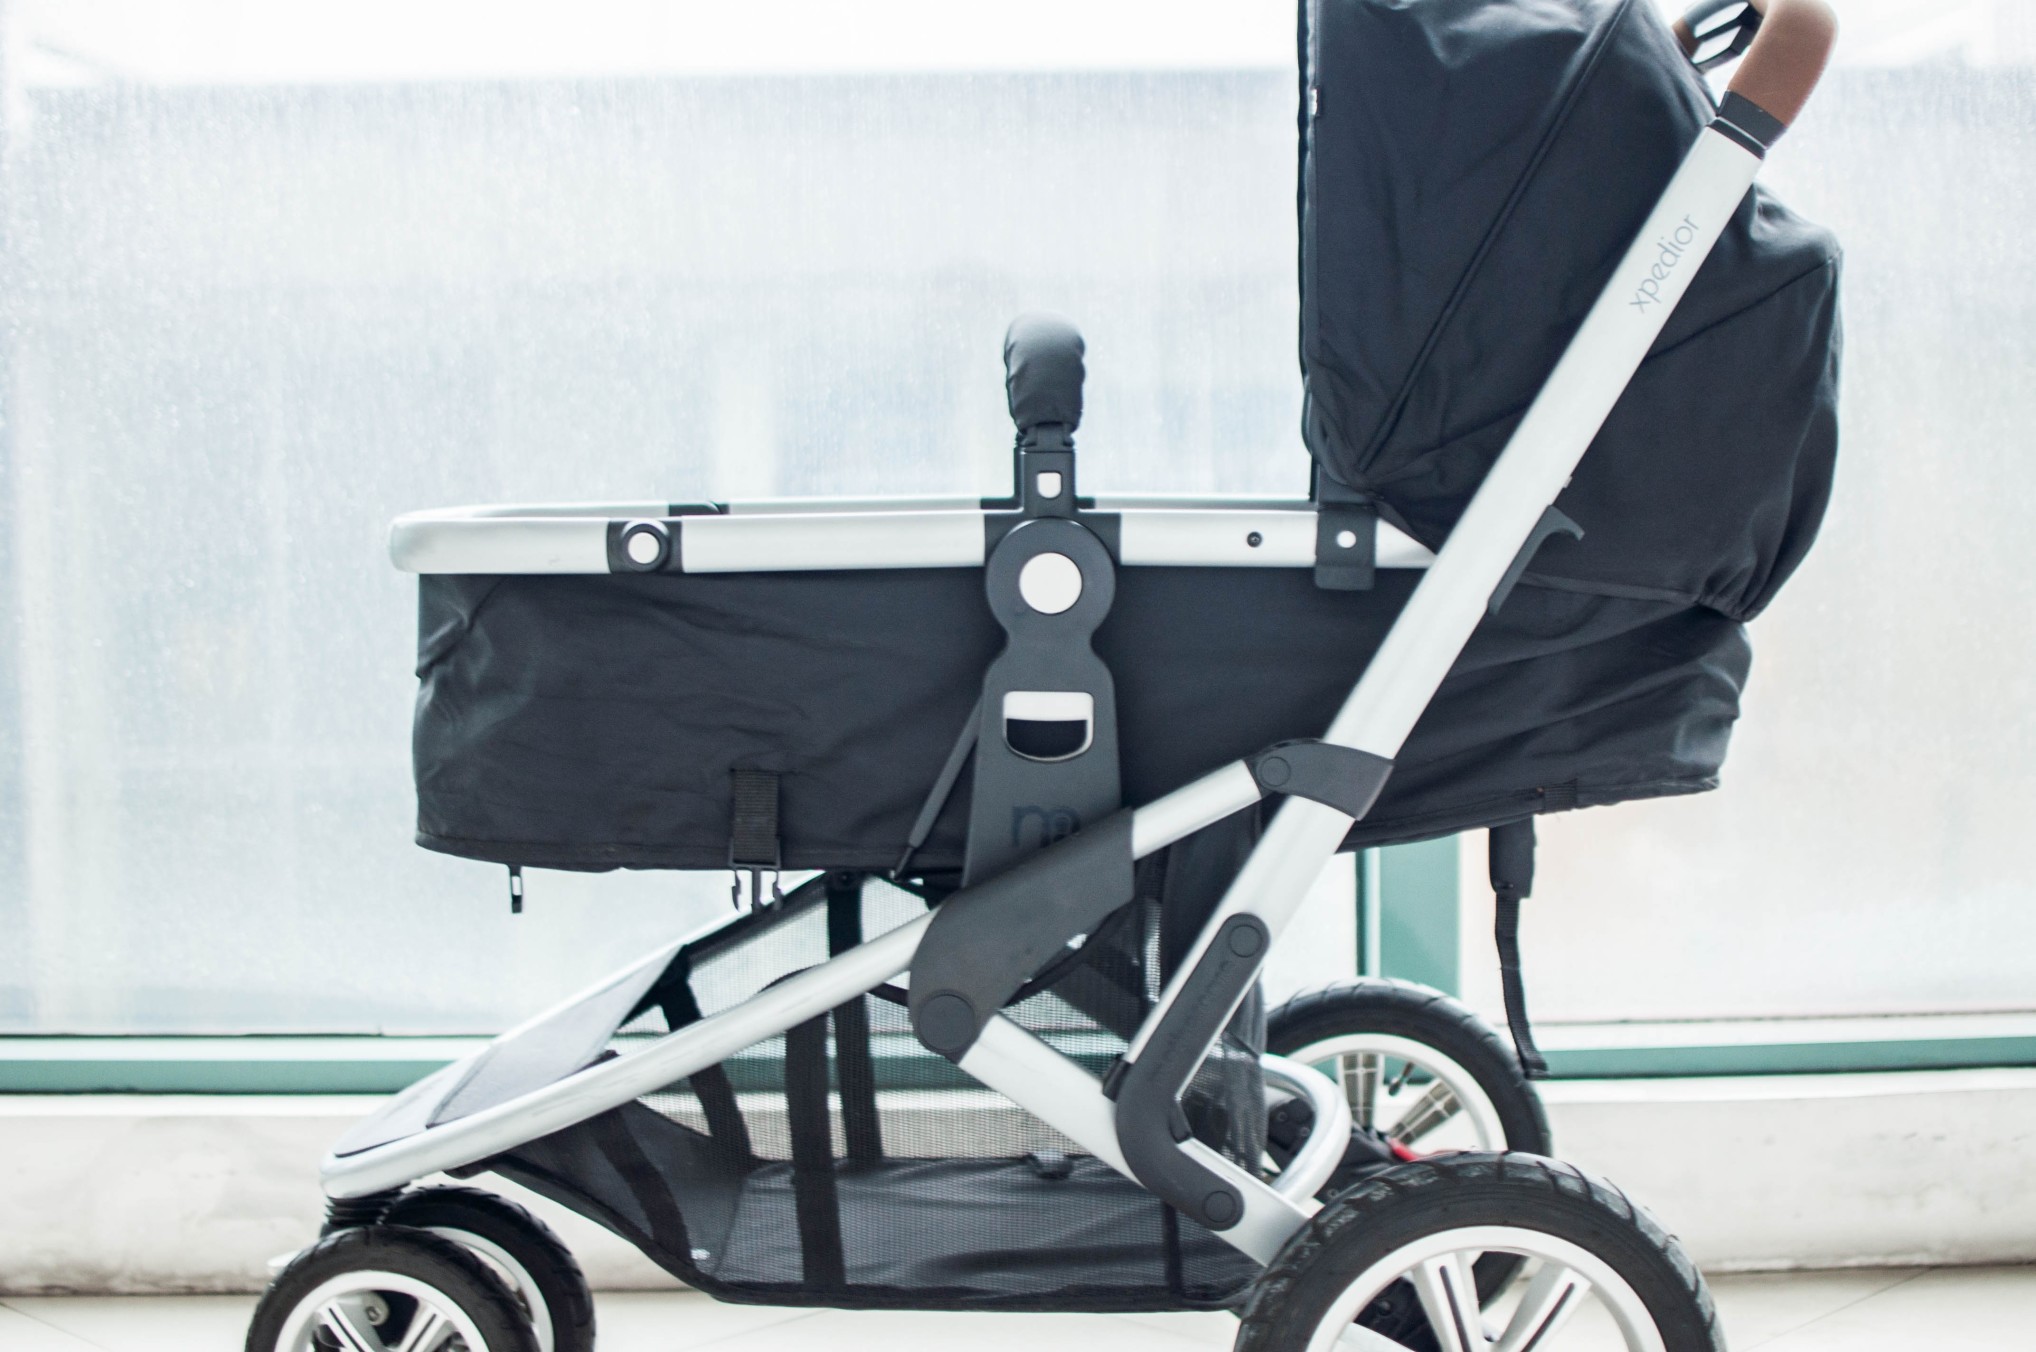
While looking at your pushchair, you will see where the chassis is at the back – this is where you will be attaching your mini buggy board.
With a measuring tape, measure the distance from the floor to chassis and mark where it measures 35 cm/14 inches. Friction tape will need to be stuck to this area so that the connectors don’t budge.
Bear in mind, that wherever your connectors land, they cannot obstruct the wheels, any moving parts or the brakes.
The connectors can be placed either at the front or back of the chassis, so make sure you have the desired height on the mini buggy board arms before sticking down the friction tape. Once happy, secure with the strap provided and pull until tight. You will need to turn the cotter pin until secure – it should lay horizontally once complete.
Positioning your mini buggy board
While attaching the arms, you will notice that they house a variety of holes for you to adapt the height. Make sure to check that there is enough space between the platform and where your child’s head will come to under the handlebars.
Thread the cotter pins through the desired height holes and connectors, and tighten until you hear an audible click.
Now check that your mini buggy board is level for your child to stand on. Once you are happy, tighten the outer cotter pins until they are tight and secure.
Hook and strap
Before your final checks, you need to attach the hook and strap. This is for when you want to hitch your mini buggy board up out of the way when it is not in use.
Carefully thread the strap over the handlebar and pull the other end through to tighten. The loose end should be long enough to reach the central slot in your mini buggy board – once you have threaded it through pull until tight.
Last thing before you go
In your final checks, make sure your mini buggy board doesn’t obstruct any moving parts, wheels or brakes when it is hitched up out of the way.
Remove the mini buggy board from the connectors to make sure your pushchair still folds away easily. Clip your board back on, and away you go!
Getting out and about with your growing family has never been easier! Are you up for exploring the world with your little ones?